![logo #7 - no bg-1.png]](https://support.iofinnet.com/hs-fs/hubfs/logo%20%237%20-%20no%20bg-1.png?height=40&name=logo%20%237%20-%20no%20bg-1.png)
The Multi-Chain Wallet lets you manage assets across a wide range of blockchain networks directly from your vault, including networks not natively listed in the standard Transfer section.
You can view balances, copy addresses, receive tokens, send transactions, track activity, and manage network-specific settings, all from the same vault interface.
Supported networks
Confirmed networks available in the network selector include:
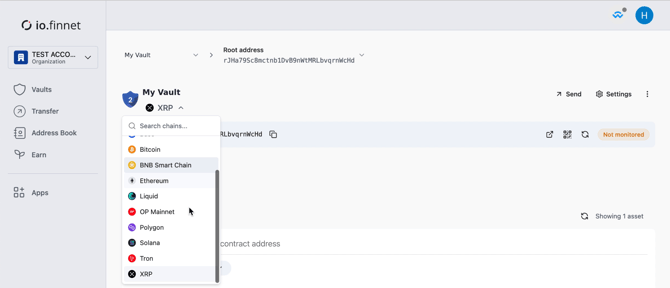
Arbitrum One, Avalanche, Base, Bitcoin, BNB Smart Chain, Ethereum, Liquid, OP Mainnet, Polygon, Solana, Tron, XRP.
How to use the Multi-Chain Wallet
1. Open the app
- Go to the left-side menu and click Apps.
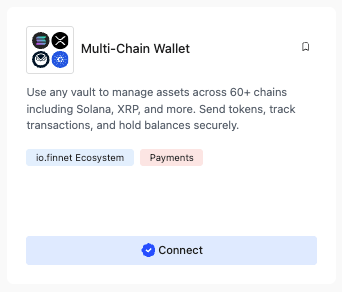
- Select Multi-Chain Wallet.
2. Select the vault
- Use the vault dropdown in the top-left corner.
- Select the vault you want to use.
- The page reloads with the chosen vault's balance and activity.
3. Switch between networks
- Click the network selector at the top of the page.
- Search or scroll through the list to choose a chain.
- The page updates automatically with the selected network's address, balance, and recent activity.
Each address displays a monitoring status (Monitored / Not monitored) and quick-action icons to copy the address, view the QR code, or open it in a block explorer.
Monitoring registers an address with our third-party providers so we receive on-chain activity events for it. Not monitored address may show a correct balance with no visible transaction history.
4. Receive assets
- On the asset page, click Send and switch to the Receive tab, or use the copy/QR icon next to the address.
- Share your wallet address with the sender.
- Funds sent to this address appear under Recent Activity and update your balance automatically.
5. Send assets
- Click Send on the asset page.
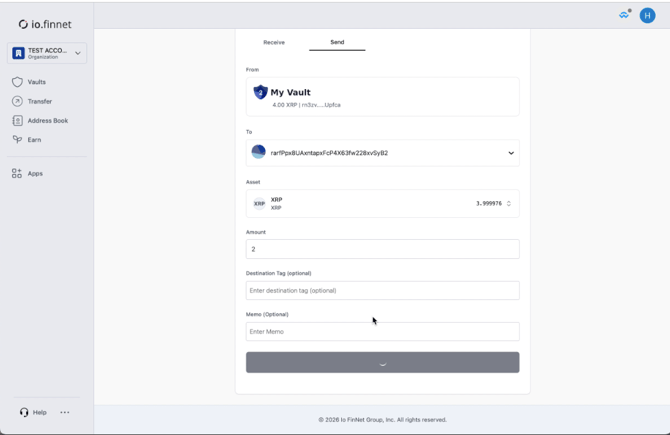
- Fill in the form:
- From — the source vault and address (auto-filled)
- To — enter the destination address
- Asset — auto-selected, shows available balance
- Amount — enter the token amount
- Destination Tag (optional, network-dependent — e.g. XRP)
- Memo (optional)
- Click Submit Transaction.
- Review the signature request details and approve on your registered device.
6. Track activity
The vault page shows two activity sections:
- Recent Signatures — date, description, signature status, and on-chain status (Signed, Broadcast, Mined/Successful, or Expired), with a link to full transaction details on the relevant block explorer.
- Recent Transactions — full transaction history, expandable for hash, fees paid, date, and direction (incoming/outgoing).
Click View all Signatures or View all Transactions to see the complete history.
7. Export transaction history
- From the transaction activity view, select Export Transactions.
- Enter the email address to receive the CSV export.
- Optionally filter by date range (From / To).
- Confirm to send the export.
8. Network-specific settings
Some networks offer additional configuration under the Settings tab of the asset page. For example, Solana supports setting up a Durable Nonce Account, which allows transactions to remain valid for 24 hours instead of a few minutes — useful for complex or multi-signature transactions and unpredictable network conditions. A one-time account creation fee and rent exemption apply.